How to Test a Crochet Pattern Before You Sell It
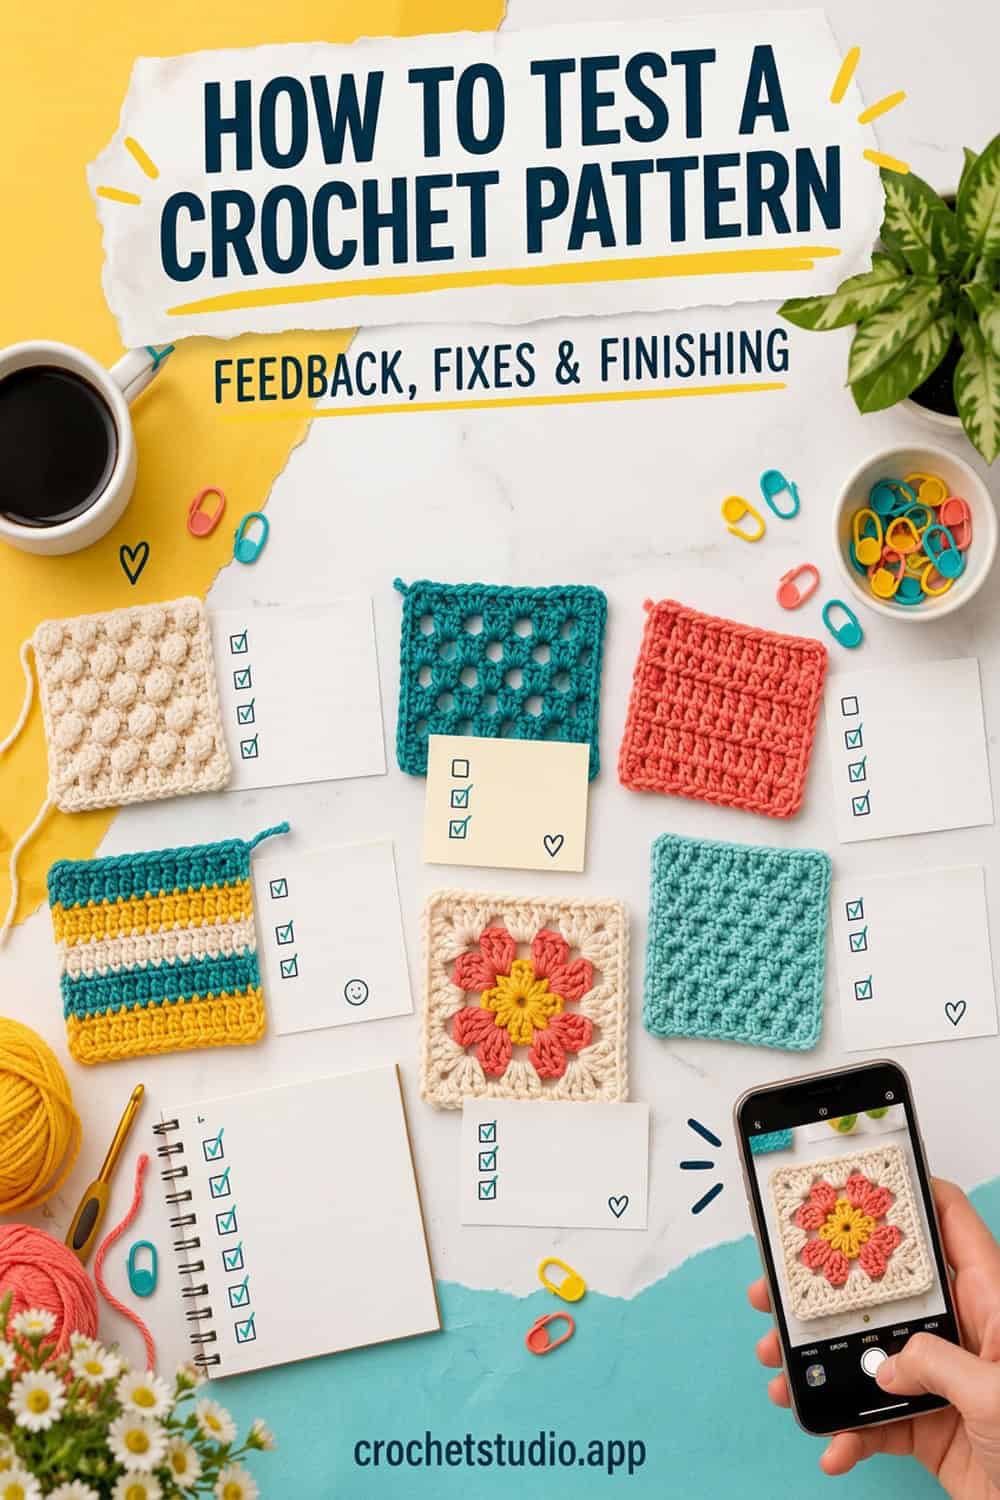
A good crochet pattern test gives you more than a finished photo. It shows where real makers pause, misunderstand an instruction or get a different result.
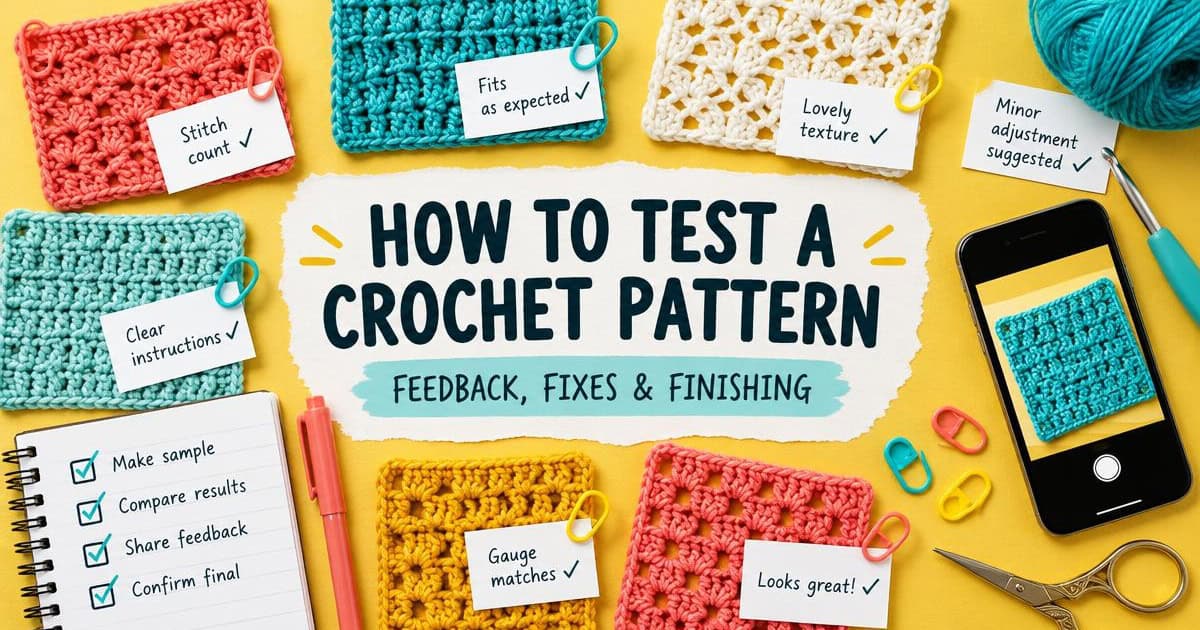
Table of contents
- Pattern testing and technical editing are not the same
- 1. Finish the draft before calling for testers
- 2. Decide what you need to learn
- 3. Write a clear tester call
- 4. Set a realistic schedule
- 5. Keep feedback tied to the right place
- 6. Manage pattern updates carefully
- 7. Ask permission before using tester photos
- 8. Close the test well
- Run the test without chasing messages
- YOUR NEXT STEP
You have finished the sample, written the instructions and checked the stitch counts. Before you publish, there is one more important question: can another crocheter make the same project from your words alone?
That is what a pattern test helps you learn. Testers follow the pattern in real conditions, using their own yarn, hands and experience. Their feedback helps you find unclear instructions, missing information and fit problems before paying customers do.
Pattern testing and technical editing are not the same
A pattern tester makes the project and reports what happened. A technical editor reviews the written pattern for math, terminology, consistency and presentation. Some testers notice spelling or counting errors, but that should not be their main job. For an important paid pattern, especially a graded garment, both steps can be valuable.
1. Finish the draft before calling for testers
Do not ask testers to complete the pattern for you. The draft should contain all instructions, materials, gauge, measurements, stitch counts and assembly steps. Mark anything that is intentionally unfinished, such as a temporary cover photo.
- Every row and round is present
- Stitch counts have been checked
- Sizes and finished measurements are listed
- Special stitches are explained
- Photos or diagrams are included where they are needed
- The file has a version name or date
2. Decide what you need to learn
Your test should have a purpose. For a small accessory, you may need to confirm the wording, yarn amount and finished size. For a garment, you also need testers across the size range and feedback about fit, ease and length.
Write down the questions you want answered. This helps testers know what matters and stops the test from turning into a vague "let me know what you think."
3. Write a clear tester call
A useful tester call helps people decide whether they can realistically finish. Include:
A clear photo and short project description
Skill level and required techniques
Available sizes
Yarn weight and estimated amount
Application deadline and final deadline
What feedback and photos you expect
Where communication will happen
What the tester receives in return
Avoid choosing only by follower count. Look for people who answer the application carefully, understand the deadline and can represent the sizes or experience levels you need.
Would you like to save this?
4. Set a realistic schedule
The right deadline depends on the project. A coaster and a full sweater should not have the same schedule. Give testers time to get yarn, crochet, block, photograph and report their feedback. Add one or two friendly check-ins before the final date so a problem is not discovered on the last day.
| A missed check-in is useful information. Contact the tester privately and ask whether they need help or need to leave the test. Clear, kind communication protects the project and the relationship. |
5. Keep feedback tied to the right place
Feedback becomes hard to manage when it is split between direct messages, email threads and group chats. Ask testers to name the exact row, round or section when they report an issue. Keep the designer's answer with that report so everyone can see what was decided.
| Round 12: I finished with 35 stitches instead of 36. Should the repeat end with an increase? |
Ask for more than error reports. Useful feedback can include yarn used, finished measurements, time needed, places they reread, techniques that need a photo and how the item fits.
6. Manage pattern updates carefully
When one tester finds an error, tell every tester what changed and which version they should use. A short update note should include the affected section, the old wording, the new wording and whether anyone needs to undo work.
Do not silently replace the file and hope everyone notices. Version confusion can create more errors than the original problem.
7. Ask permission before using tester photos
A tester sending you a photo does not automatically mean you can use it in a product listing, newsletter or social post. Ask clearly and keep a record of the answer. Also ask how the tester wants to be credited and confirm their social handle before publishing it.
8. Close the test well
Thank every tester, send the corrected final pattern and give any reward you promised. Save useful notes about reliability, size, yarn and communication for future tests. If a tester could not finish, handle it privately and professionally.
Run the test without chasing messages
CrochetStudio's Testing Hub keeps the pattern and the test together. Testers open one link, check off rows, report an issue on the exact line and see update alerts. Designers can follow progress, reply to reports, collect photos with permission and keep social details ready for credits.
Testers join free. The designer's Testing Hub is included with CrochetStudio Pro.
YOUR NEXT STEP
| See the testing experience before your next tester call: https://crochetstudio.app/testing-hub-demo |
Read the next post in this series about writing and publishing your own crochet patterns: Selling your crochet pattern online
Useful links
Try the interactive Testing Hub demo: https://crochetstudio.app/testing-hub-demo
Read the free testing lesson: https://crochetstudio.app/learn/testing-and-tech-editing
See CrochetStudio Pro plans: https://crochetstudio.app/pricing
Check out my Latest Video!
Subscribe to my: