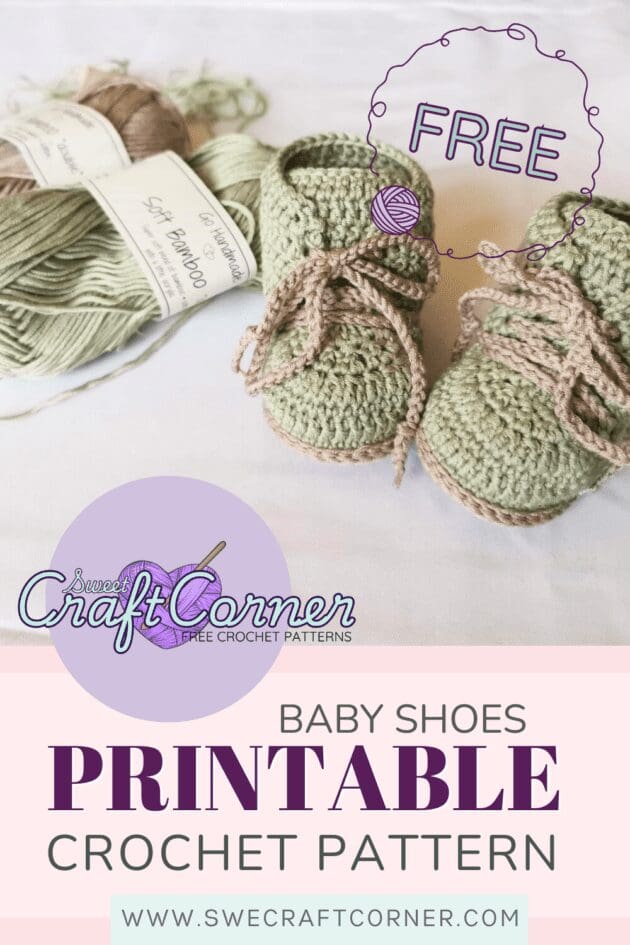
Crochet Baby Shoes – Free Pattern for Adorable Little Feet!
Crochet these lovely baby shoes for any little boy or girl. This pattern includes lots of step by step pictures and I hope that will help the beginners as well as the advanced crocheters to create these adorable crocheted shoes. Want something warmer - have a look at these two patterns, also free of course.
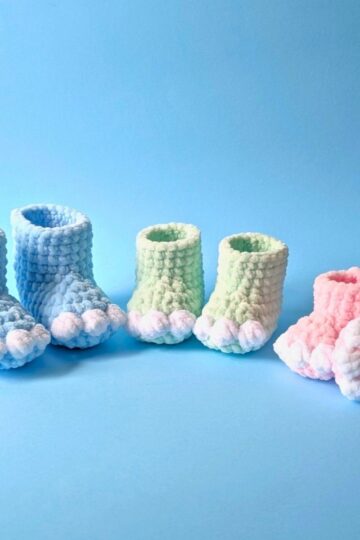
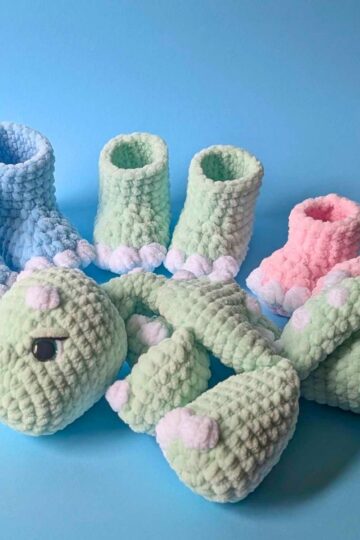
How cute aren't these? So small and tiny for a baby's feet and super easy and fast to make. In this pattern you will see how to make baby booties that are warm, cozy and SUPER CUTE! So, if you are in need of a quick crochet project for a baby, then you have come to the right place.
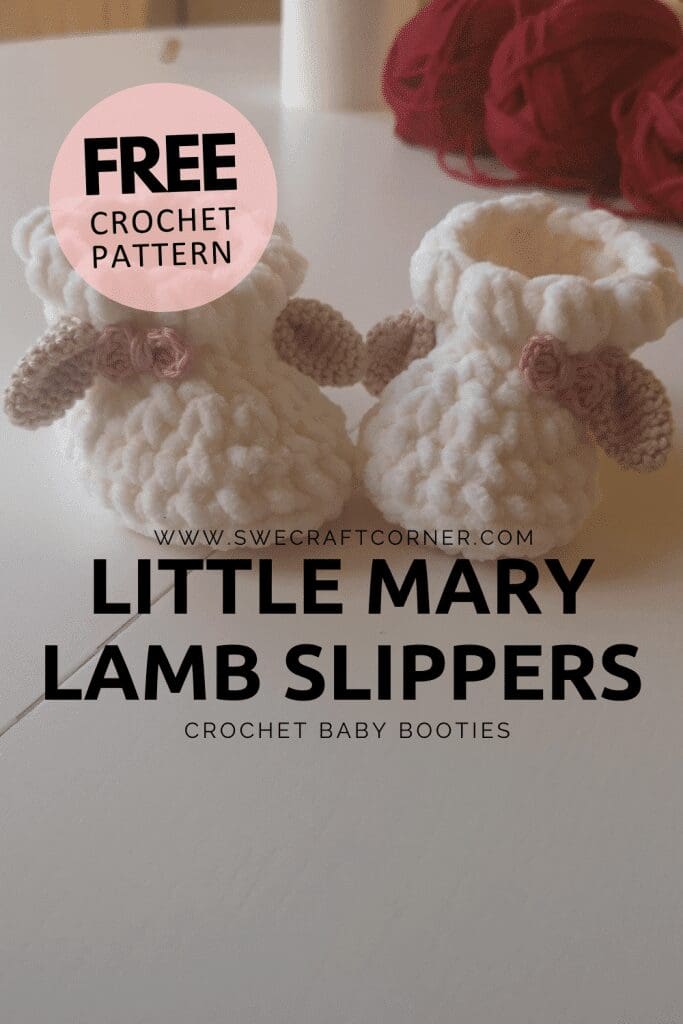
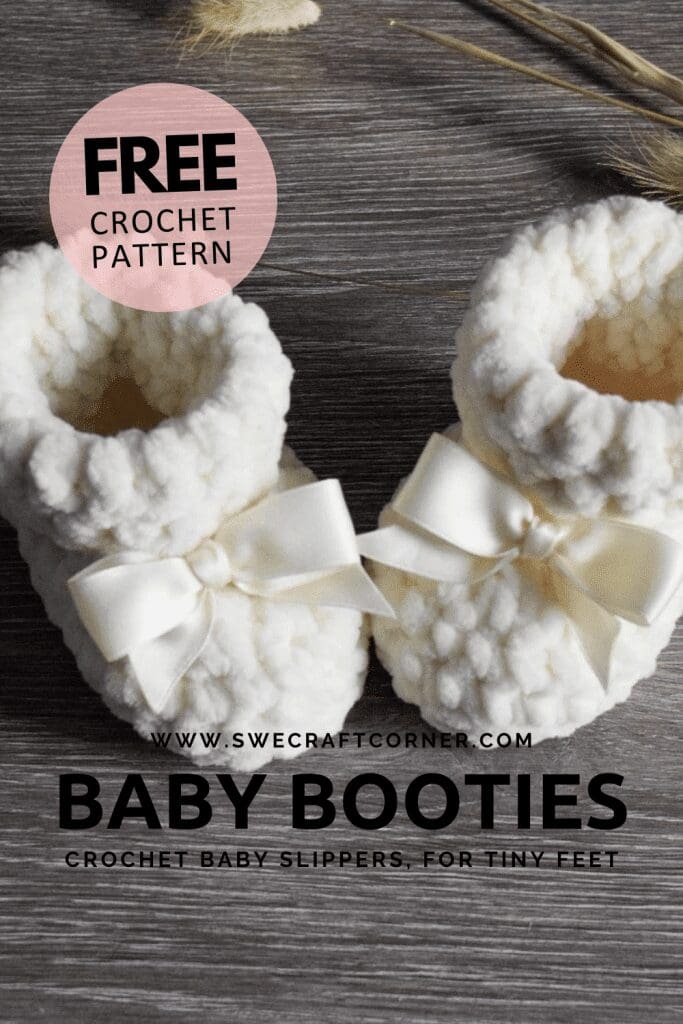
These warm and cozy baby lamb slippers pattern will make for perfectly warm baby feet. And the crochet ears give it that extra adorable touch. The pattern as step by step pictures to show you how to crochet the slippers/booties and will make it an easy pattern for beginners as well as advanced crocheters.
About This FREE Crochet Pattern
If you are looking for a adorable project that's both fun and functional? These cute crochet baby shoes are the perfect handmade gift or item for your shop or crochet market! With a design that combines comfort and style, they’ll be the perfect addition to any kids crocheted wardrobe.
Whether you’re a beginner or experienced crocheter, this pattern is easy to follow and will guide you through each step, from the sole to the finishing touches. The soft texture of the yarn makes these shoes cozy and perfect for little feet and the added ties makes them actually stay on the tiny tiny feet (even when kicking)
This pattern offer plenty of room for customization—experiment with colors, embellishments, and different yarns to make them your own. The pattern is printable for FREE right here from the blog.
Have fun crocheting and if you like this pattern don't forget to save this post to your favorite Pinterest board.
Copyright © 2023 Swecraftcorner
This pattern is copyright protected and the property of swecraftcorner and may not be reproduced, sold, copied, or altered in any way, shape or form, please respect this, of course you can share the link directly. You may sell finished item that you made with this pattern (but not in wholesale or mass produce) as long as you credit me for design and include a link back to my webpage www.swecraftcorner.com. You may not use my pictures when selling your finished item. If you love the pattern please share the link with your friends, I would be so happy if you did!
Disclaimer
This Post may contain affiliated links, clicking on those links do not cost you a penny, unless you make a purchase in which case I may get a small commission at NO extra cost to you! However, I never recommend yarn or products I don't actually like myself!
This post contain ads, the ads are the reason I can provide you with this pattern for free, if you want to help me provide free patterns I would love if you pinned this post to your Pinterest and followed me!
If you want ad free and printable versions of my patterns you can find most of them in my shop.
Pattern info
You can check out my collected pattern info below if you need more guidance when working with one of my patterns.
Pattern info specifically to this pattern:
Both shoes are made the same.
Some rounds have the number of stitches made each round written twice, this happens when a round is finished with a false stitch and your stitch count increase with one.
To see how a false stitch is made click here.
This pattern contains a number of images to help guide you. Some pictures have a crochet hook or a needle pointing on a specific stitch to show where to begin or end a round.
If you need any clarification on the terms I use you can see them below.
Crochet Baby shoes - Free Crochet Pattern
Crochet Baby Shoes (0–3 months and 3–6 months)
These classic baby shoes are made with a sturdy double-sole and a comfortable upper, finished with a decorative tongue and secure back. Both shoes are made identically and the pattern is written for two sizes.
Pattern Information
- Both shoes are made the same way.
- Some rounds include a “false stitch” at the end to ensure a smooth join—this may increase your stitch count by one in that round.
- Images in the pattern show hook or needle placement for starting or ending rounds.
- The pattern includes detailed step-by-step instructions for both 0–3 months and 3–6 months sizes.
Materials
- Yarn: Catania cotton, 1 skein each of two colors or 2 skeins in a single color
- Hook: 3.0 mm
- Notions: Tapestry needle, scissors
- Optional: Ribbon for ties, or make your own with a crochet chain
Sizes
- 0–3 months
- 3–6 months
Gauge
For best results, make a test sole and adjust hook size as needed to achieve desired size and firmness.
Abbreviations and Special Stitches
- ch: chain
- sc: single crochet
- hdc: half double crochet
- dc: double crochet
- dc inc: 2 dc in same stitch
- dc2tog: double crochet 2 together
- dc6tog/dc7tog: double crochet 6 or 7 together (decrease)
- sl st: slip stitch
- false st: A final stitch made at the end of the round for a smoother finish
- st(s): stitch(es)
Repeats:
- Repeats are written in square brackets with the number of repeats:
Example: [1 dc, dc inc] x 6
Stitch Counts:
- Given at the end of each round or row: (34 sts)
- If a round/row is repeated, it is shown as: {3 rounds}
Pattern Notes
- Ch 3 at the beginning of a round counts as your first dc unless otherwise stated.
- Some rounds/rows end with a false stitch for a neater join—these are clearly noted.
- The top and back of the shoe are worked flat after the sole and upper are finished in rounds.
Size 0–3 months
Sole (Make 4)
Ch 13.
Round 1: Ch 3 (counts as first dc), starting in 4th ch from hook: 2 dc, 1 dc in next 11 ch, 6 dc in last ch; working on the other side of the chain: 1 dc in next 11 ch, 3 dc in last ch (34 sts). Sl st into the top of first st, ch 1.
Round 2: 1 sc in same st as sl st, 1 sc, sc inc, 4 sc, 2 hdc, 5 dc, [dc inc] x 6, 5 dc, 2 hdc, 4 sc, sc inc, 1 sc, sc inc in last st (43 sts). Sl st to top of first st, ch 2.
Round 3: 1 dc in same st as sl st, [1 dc, dc inc] x 2, 11 dc, [dc inc, 1 dc] x 6, 10 dc, [dc inc, 1 dc] x 2, dc inc in last st (54 sts). Finish with a false st (55 sts).
Place soles wrong sides together in pairs. Find the center back stitch, join yarn and sl st through both soles all the way around. Finish with a false st, secure ends.
Shoe Upper
Round 1: Working into the sl sts joining the soles, find center back st, fasten yarn and ch 1, 1 sc in same st, 1 sc in each st (55 sts). Sl st to first st, ch 2.
Round 2: 1 dc in same st as sl st, 1 dc in each st (55 sts). Sl st to first st, ch 1.
Round 3: 1 sc in same st as sl st, 1 sc in each st (55 sts). Finish with a false st (56 sts).
Would you like to save this?
Top of Shoe
Mark the false stitch (needle). With the false stitch facing you, count 14 sts to the left; in the 15th st (hook), fasten yarn.
Row 1: Ch 2, dc in next st (counts as first decrease), [dc2tog] x 13 (14 sts). Turn.
Row 2: Ch 2, dc in next st (counts as first decrease), [dc2tog] x 6 (7 sts). Turn.
Row 3: Ch 2, dc6tog across row.
Cut yarn and fasten off.
Tongue
Ch 3 at start of each row counts as first dc.
Row 1: Fasten yarn as shown, ch 3, 16 dc evenly spaced over the top edge, 1 dc in last st shown (18 sts).
Rows 2–5: Ch 3, 1 dc in next 17 sts (18 sts). Turn.
Row 6: Ch 2, dc in next st (counts as decrease), 1 dc in 14 sts, dc2tog (16 sts).
Cut and fasten yarn.
Back of Shoe
Row 1: Fasten yarn around post as shown, ch 3, 1 dc around next post, 1 dc in 28 sts, 1 dc around next 2 posts. Turn.
Rows 2–6: Ch 3, 1 dc in 31 sts (32 sts). Turn.
Cut and fasten yarn.
To tie shoes, use ribbon or make a chain for ties.
Size 3–6 months
Sole (Make 4)
Ch 16.
Round 1: Ch 3 (counts as first dc), starting in 4th ch from hook: 2 dc, 1 dc in 14 sts, 6 dc in last ch; working on other side: 1 dc in 14 sts, 3 dc in last ch (40 sts). Sl st to top of first st, ch 1.
Round 2: 1 sc in same st as sl st, 1 sc, sc inc, 5 sc, 2 hdc, 7 dc, [dc inc] x 6, 7 dc, 2 hdc, 5 sc, sc inc, 1 sc, sc inc in last st (49 sts). Sl st to first st, ch 2.
Round 3: 1 dc in same st as sl st, [1 dc, dc inc] x 2, 14 dc, [dc inc, 1 dc] x 6, 13 dc, [dc inc, 1 dc] x 2, dc inc in last st (60 sts). Finish with a false st (61 sts).
Join soles and seam as for 0–3 months.
Shoe Upper
Round 1: Working into the sl sts, find center back st, fasten yarn and ch 1, 1 sc in same st, 1 sc in each st (61 sts). Sl st to first st, ch 2.
Round 2: 1 dc in same st as sl st, 1 dc in each st (61 sts). Sl st to first st, ch 1.
Round 3: 1 sc in same st as sl st, 1 sc in each st (61 sts). Finish with a false st (62 sts).
Top of Shoe
Mark the false stitch. With the false stitch facing you, count 15 sts to the left; in the 16th st, fasten yarn.
Row 1: Ch 2, dc in next st (counts as first decrease), [dc2tog] x 15 (16 sts). Turn.
Row 2: Ch 2, dc in next st (counts as first decrease), [dc2tog] x 7 (8 sts). Turn.
Row 3: Ch 2, dc7tog across row.
Cut yarn and fasten off.
Tongue
Ch 3 at start of each row counts as first dc.
Row 1: Fasten yarn as shown, ch 3, 16 dc evenly spaced over the top edge, 1 dc in last st shown (18 sts).
Rows 2–6: Ch 3, 1 dc in 17 sts (18 sts). Turn.
Row 7: Ch 2, dc in next st (counts as decrease), 1 dc in 14 sts, dc2tog (16 sts).
Cut and fasten yarn.
Back of Shoe
Row 1: Fasten yarn around post as shown, ch 3, 1 dc around next post, 1 dc in 30 sts, 1 dc around next 2 posts (34 sts). Turn.
Rows 2–7: Ch 3, 1 dc in 33 sts (34 sts). Turn.
Cut and fasten yarn.
Tie shoes with ribbon or a crocheted chain as desired.