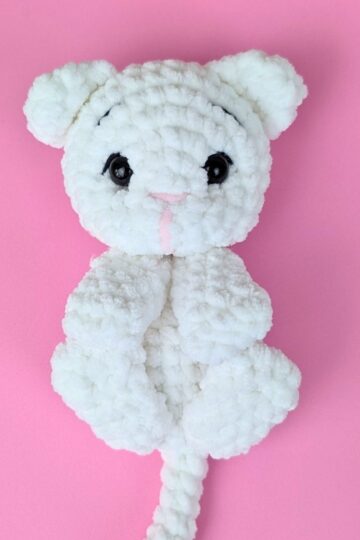
Free snow leopard crochet pattern – Step-by-Step Crochet Tutorial
If you love cute amigurumi animals, you’re going to adore this snow leopard crochet project! This pattern was designed to be fun, beginner-friendly, and full of personality—complete with those iconic snow leopard spots and a cuddly plush shape. Whether you’re making it as a gift or adding it to your handmade collection, this little snow leopard is sure to steal your heart
About This Crochet Snow Leopard Plush
This snow leopard crochet pattern creates a soft, huggable amigurumi-style plush with sweet details and simple shaping. The whole pattern is done in rounds. Most pieces use basic stitches. This makes it a fun and easy project for crocheters who love cute animals.
You’ll crochet the body parts separately and then assemble them to bring your snow leopard to life. You add the spots and facial details at the end. This lets you customize your snow leopard’s look. Each one can be totally unique.
This pattern is perfect for confident beginners and intermediate crocheters who want a satisfying plush project without complicated techniques.
- Style: Amigurumi plushie
- Yarn Type: Chenille (plush / velvet-style yarn)
- Skill Level: Confident beginner to intermediate
- Great For: Baby gifts, toddler comfort toys, nursery décor
This pattern is worked mostly in the round and the limbs of this crochet leopard plush is crocheted directly onto the body. It is designed to minimize sewing, making it both quick and beginner-friendly.
Why you will love this Snow leopard crochet pattern
Pattern information
- Stitch changes and sequence instructions are separated by commas. Example: 1 sc, sc inc, 4 sc means: 1 single crochet in the first stitch, 2 single crochets in the next stitch (increase), 1 single crochet in each of the next 4 stitches.
- Repeats are marked with square brackets [ ] and followed by the number of times to repeat. Example: [1 sc, sc inc] x 3
- Stitch counts are listed at the end of rows or rounds in parentheses — for example: (18 sts).
Skill Level
Confident Beginner / Intermediate
You should be comfortable with:
Single crochet
Increasing and decreasing
Working in the round
Materials Needed
To make this crochet snow leopard, you will need:
- Yarn: Chenille yarn in white for all body parts. approx. 100gr
- Chenille yarn in black for spots and pink for paws
- scrap cotton yarn in white and black
- Crochet hook: 4,5 mm
- Markers or needles
- Tapestry needle
- scissors
- Fiber fill
- safety eyes 10-12mm
- safety nose
Crochet Abbreviations (US Terms)
- mr - magic ring
- sc - single crochet
- inc - 2 single crochets made in 1 stitch
- sc2tog - two single crochets worked together to decrease 1 stitch
- [ ] - used to show repeating sections; everything written within is repeated the number of times written after the brackets
All stitches are written in US crochet terms.
Suggested Yarns:
Hobbii - baby snuggle
hobbii - honey bunny
Paintbox yarns - chenille
Premier yarns - Parfait Plush
Gauge
3 rounds following the pattern below = 2" (5cm) circle
To check your gauge, make a mr using the hook and yarn you are planning on using for this dinosaur crochet lovey.
Round 1: 8 sc in mr (8 sts)
Round 2: inc x 8 (16 sts)
Round 3: [inc, sc] x 8 (24 sts)
Print it, save it, and crochet without ads.
Want a distraction-free version?
Download the ad-free, printable PDF pattern—perfect for printing or crocheting from your computer, tablet or phone, even offline!
Understanding Basic Crochet Stitches
Would you like to save this?
If you liked this pattern, you may also like these free plushie crochet patterns:
Safety Disclaimer
This pattern includes instructions for safety eyes.
If making for a baby or child under 3 years old, it is recommended to embroider the eyes instead for safety.
Copyright & Usage
This pattern is for personal use only.
- You may sell finished items made from this pattern.
- Please do not copy, redistribute, or sell this pattern or any part of it. But sharing the link with others is always appreciated!
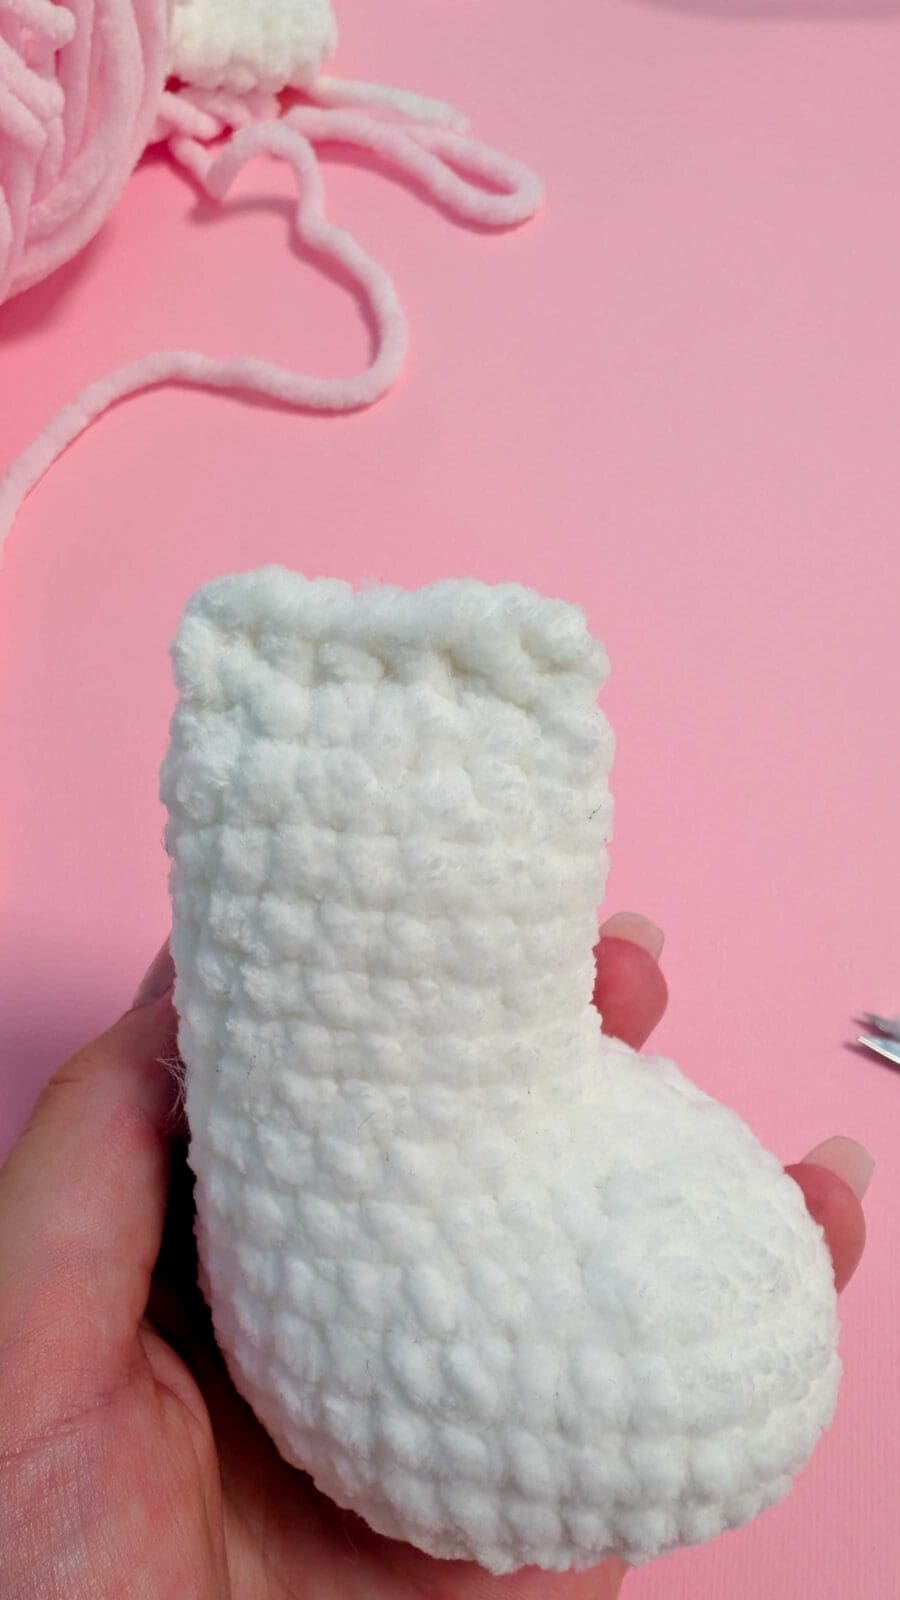
Crochet Leopard Pattern Instructions
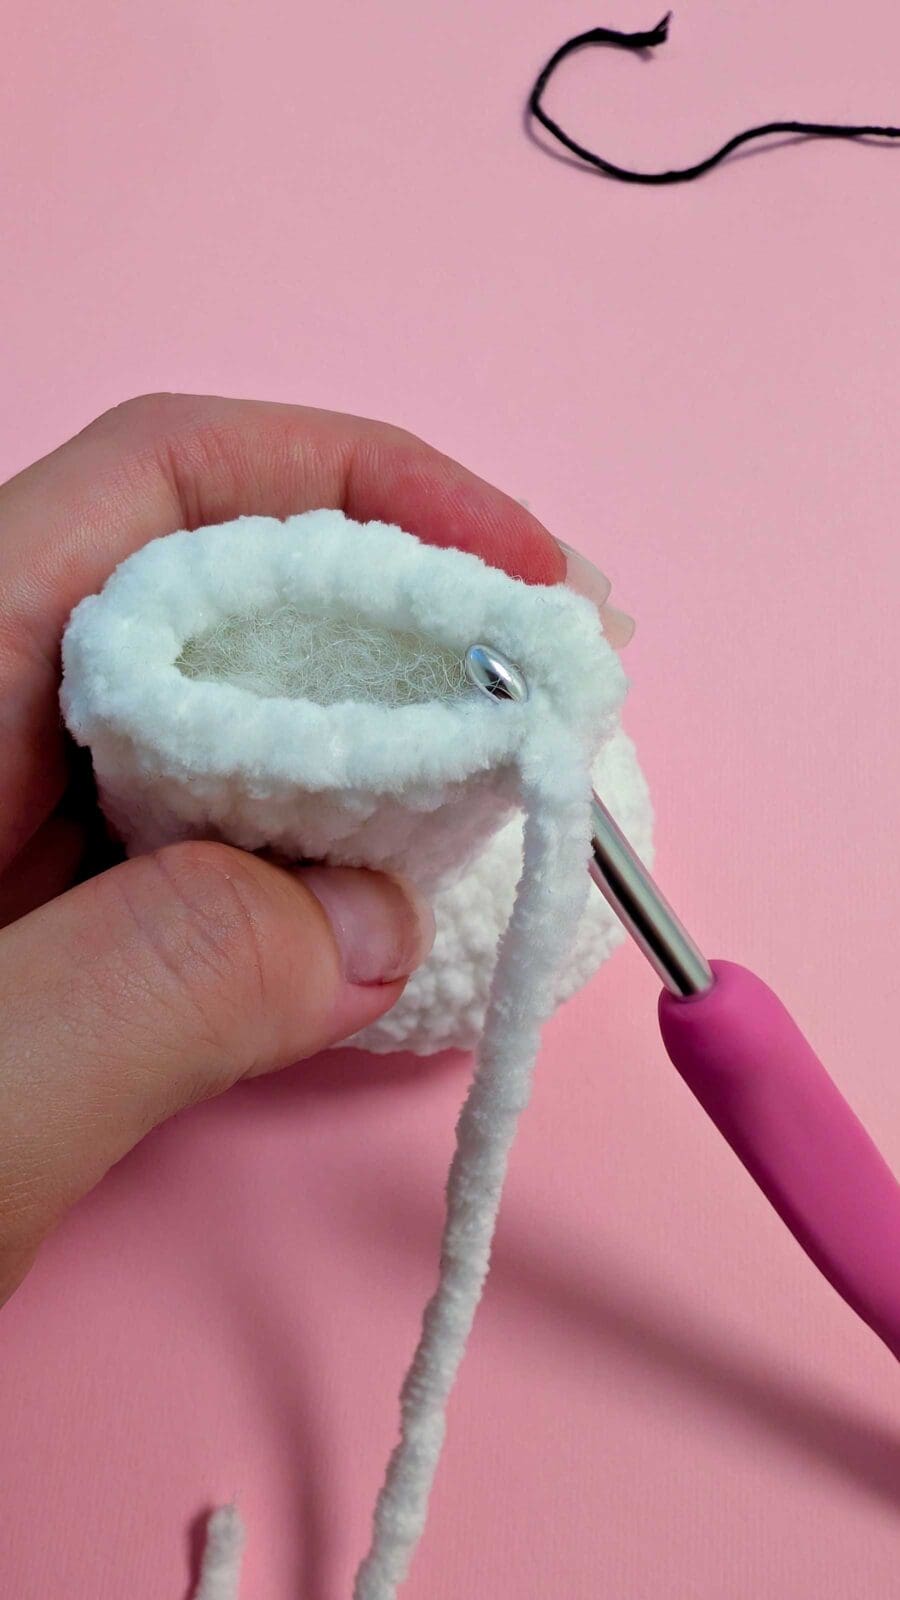
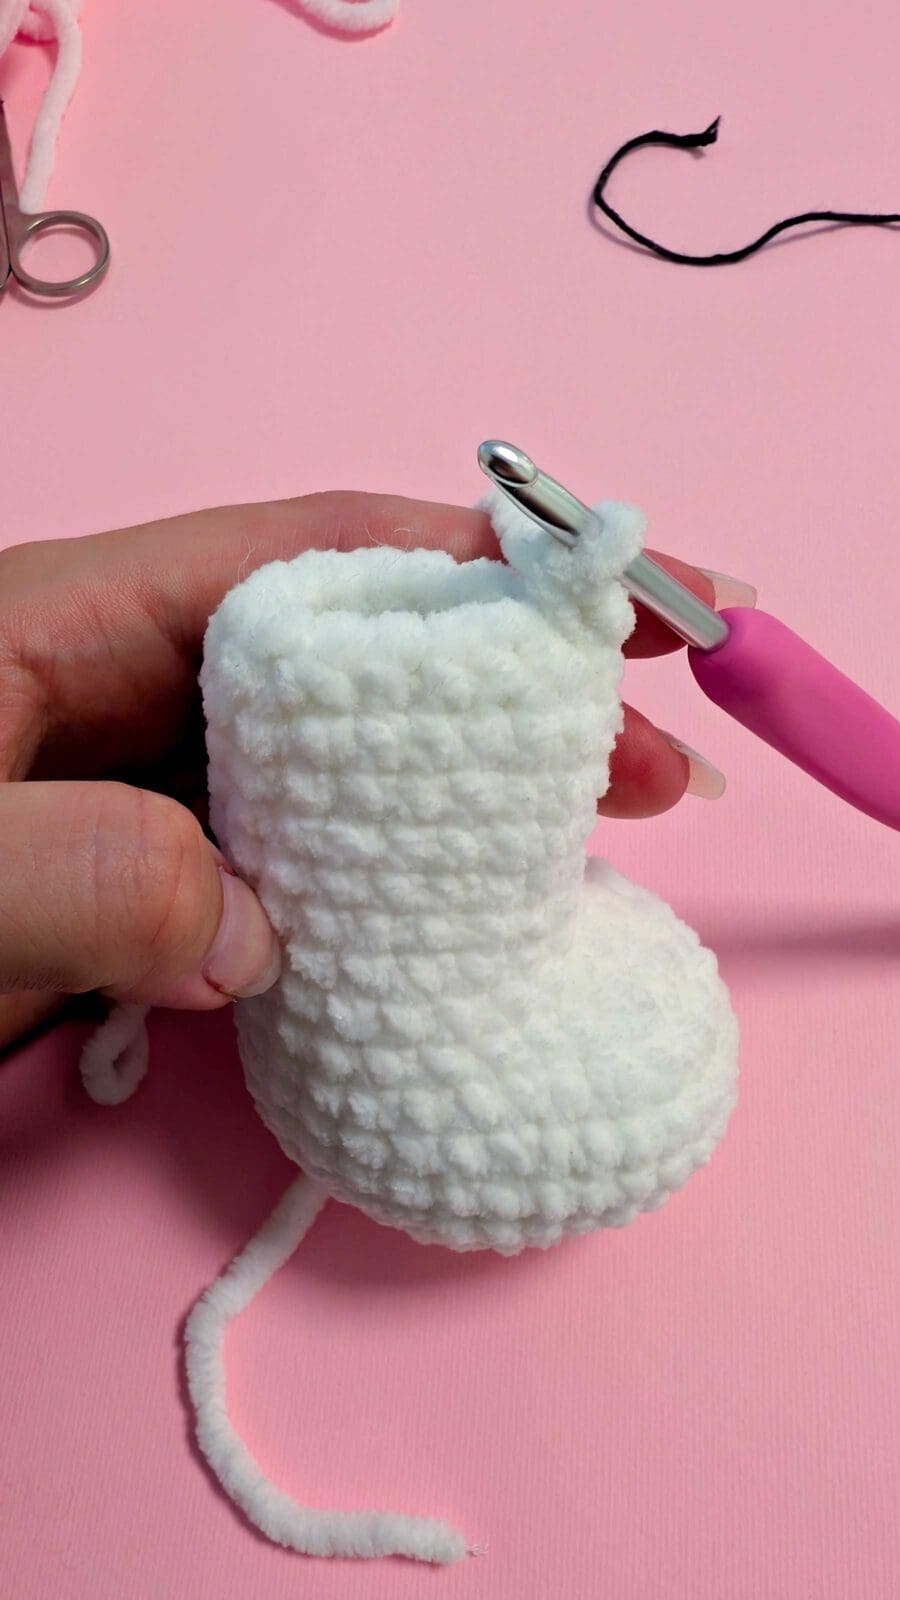
Leg - make 2
Round 1: 8 sc in mr (8 sts)
Round 2: inc x 8 (16 sts)
Round 3: [sc, inc] x 8 (24 sts)
Round 4: sc, inc x 8, 15 sc (32 sts)
Round 5-7: sc in each st around (32 sts)
Round 8: 2 sc, [sc2tog, sc] x 4, sc2tog, 16 sc (27 sts)
Round 9: sc, [sc2tog] x 5, 16 sc (22 sts)
Round 10: sc2tog, sc3tog, sc2tog, 15 sc (18 sts)
Round 11-16: sc in each st around (18 sts)
Round 17: [sc2tog, sc] x 6 (12 sts)
Stuff the leg, make 3-4 alignment stitches.
Fold both sides of opening together and make 5 sc through both sides. Fasten off and weave in ends.
Arms - Make 2
Round 1: 6 sc in mr (6 sts)
Round 2: inc x 6 (12 sts)
Round 3: 2 sc, inc x 2, 4 sc, inc x 2, 2 sc (16 sts)
Round 4: sc in each st around (16 sts)
Round 5: 3 sc, sc3tog, 6 sc, inc, 3 sc (15 sts)
Round 6: 2 sc, sc3tog, 5 sc, inc, 4 sc (14 sts)
Round 7: sc, sc3tog, 10 sc (12 sts)
Round 8: sc in each st around (12 sts)
Round 9: sc, sc2tog, 9 sc (11 sts)
Round 10: sc2tog, 9 sc (10 sts)
Round 11-14: sc in each st around (10 sts)
Stuff the arm, make 3-4 alignment stitches.
Fold both sides of opening together and make 4 sc through both sides. Fasten off and weave in ends.
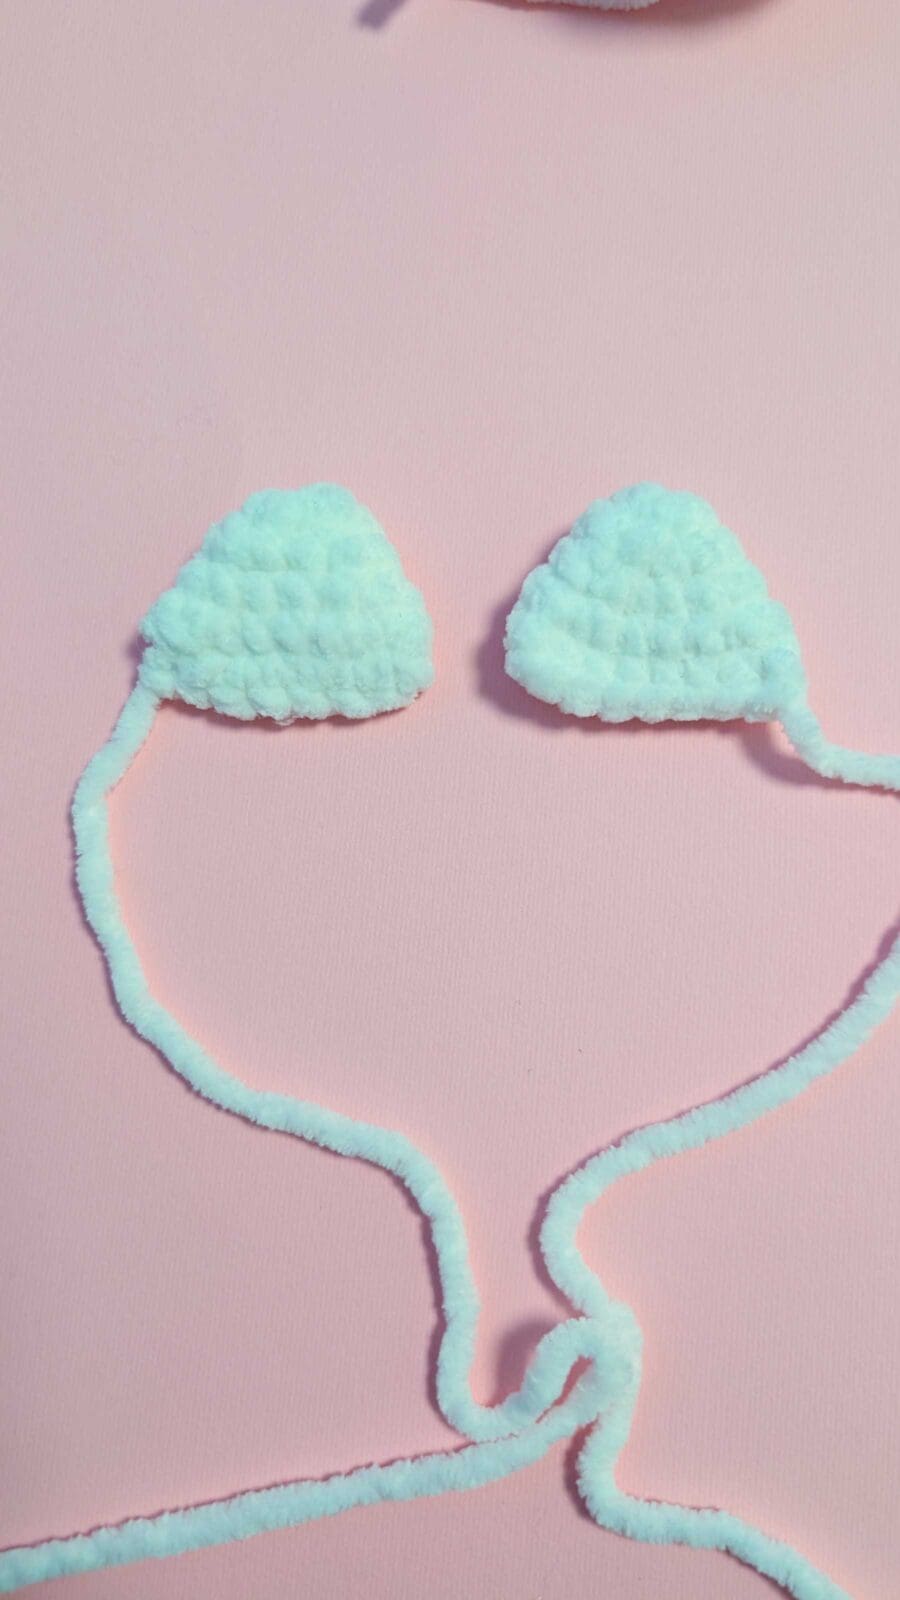
Ears - Make 2
Round 1: 6 sc in mr (6 sts)
Round 2: [inc, sc] x 3 (9 sts)
Round 3: [inc, 2 sc] x 3 (12 sts)
Round 4: 2 sc, inc x 2, 4 sc, inc x 2, 2 sc (16 sts)
make 4 alignment stitches.
Fold both sides of opening together and make 7 sc
through both sides. Fasten off and weave in ends.
Tail
Round 1: 5 sc in mr (5 sts)
Round 2-12: sc in each st around (5 sts)
fold the opening together and through both sides make 2 sc. Cut your yarn, leaving a tail long enough for sewing onto the body
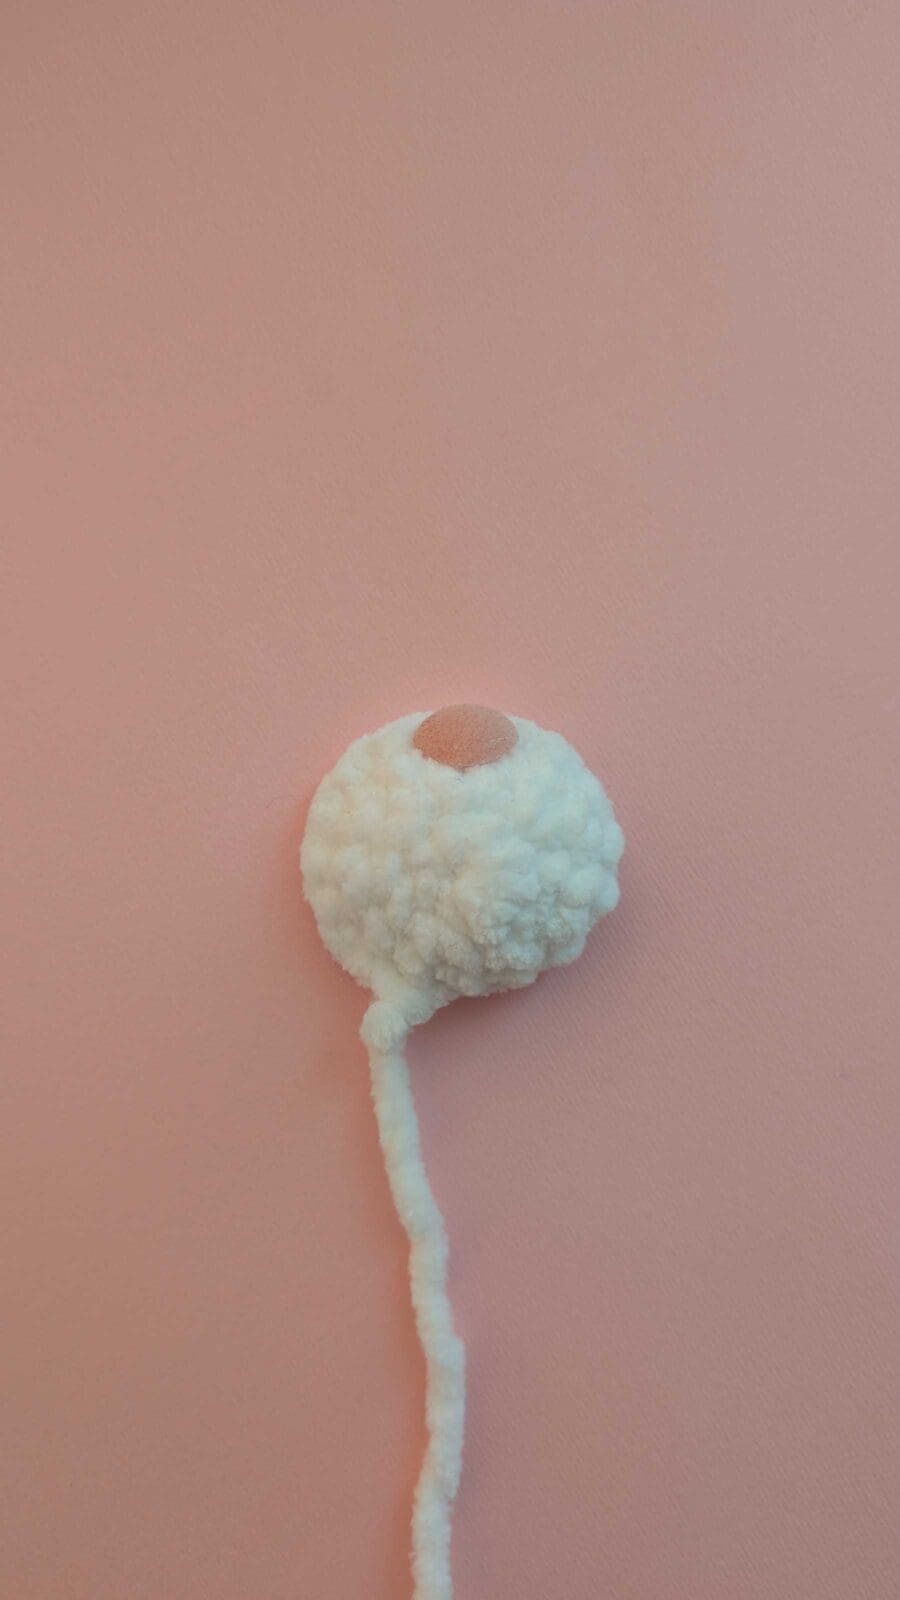
Muzzle
Round 1: 6 sc in mr (6 sts)
Round 2: inc x 6 (12 sts)
Round 3: sc, inc x 2, 4 sc, inc x 2, 3 sc (16 sts)
Round 4: 14 sc, 2 sl sts (16 sts)
Cut your yarn, leaving a tail long enough to sew the muzzle to the head. If using a safety nose, attatch it on the top side before sewing the muzzle to the head
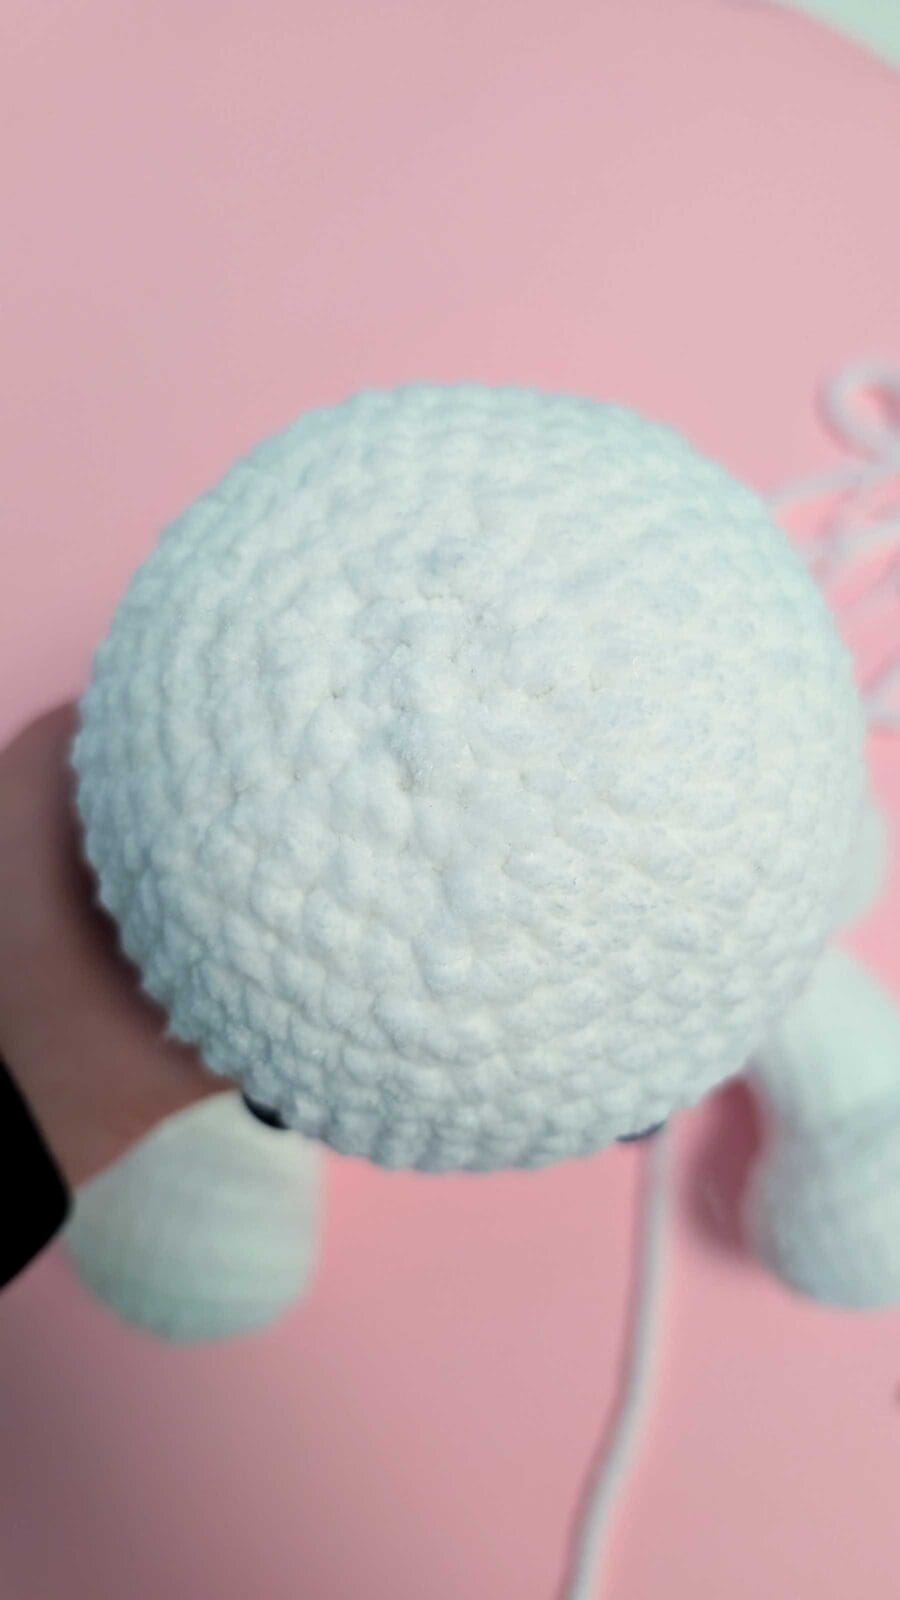
Body and Head
Round 1: 7 sc in mr (7 sts)
Round 2: inc x 7 (14 sts)
Round 3: [sc, inc] x 7 (21 sts)
Round 4: [inc, 2 sc] x 7 (28 sts)
Round 5: [3 sc, inc] x 7 (35 sts)
Round 6: sc in each st around (35 sts)
Round 7: [inc, 4 sc] x 7 (42 sts)
Round 8: [5 sc, inc] x 7 (49 sts)
Round 9: 9 sc, attach first leg - 5 sc, 20 sc, attach second leg - 5 sc, 10 sc (49 sts)
Round 10-12: sc in each st around (49 sts)
Round 13: [sc2tog, 5 sc] x 7 (42 sts)
Round 14: sc in each st around (42 sts)
Round 15: [4 sc, sc2tog] x 7 (35 sts)
Round 16: sc in each st around (35 sts)
Round 17: [sc2tog, 3 sc] x 7 (28 sts)
Round 18-19: sc in each st around (28 sts)
Round 20: 5 sc, attach first arm - 4 sc, 11 sc, attach second arm - 4 sc, 4 sc (28 sts)
Round 21: [sc2tog, 2 sc] x 7 (21 sts)
Round 22: inc x 21 (42 sts)
Round 23: [5 sc, inc] x 7 (49 sts)
Round 24-34: sc in each st around (49 sts) Attach eyes between round 30 and 31 approx. 7 stitches apart
Stuff the body firmly, an continue to stuff the head as you decrease.
Round 35: [sc2tog, 5 sc] x 7 (42 sts)
Round 36: sc in each st around (42 sts)
Round 37: [4 sc, sc2tog] x 7 (35 sts)
Round 38: [3 sc, sc2tog] x 7 (28 sts)
Round 39: [2 sc, sc2tog] x 7 (21 sts)
Round 40: [sc, sc2tog] x 7 (14 sts)
Round 41: sc2tog x 7
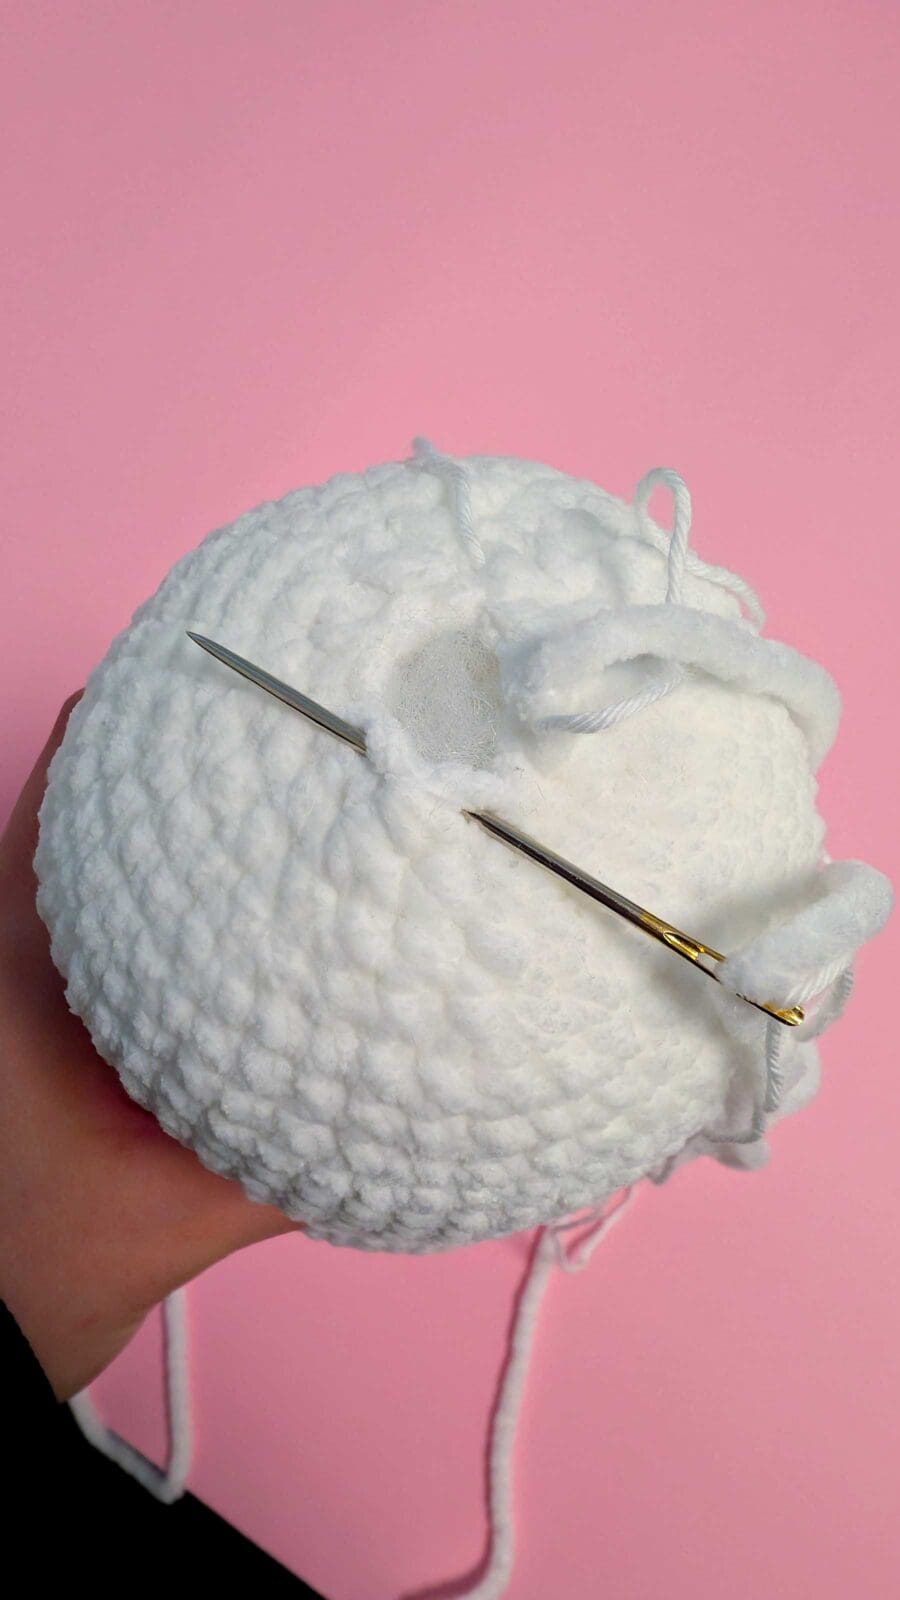
Cut your yarn and close the hole on the top of the head.
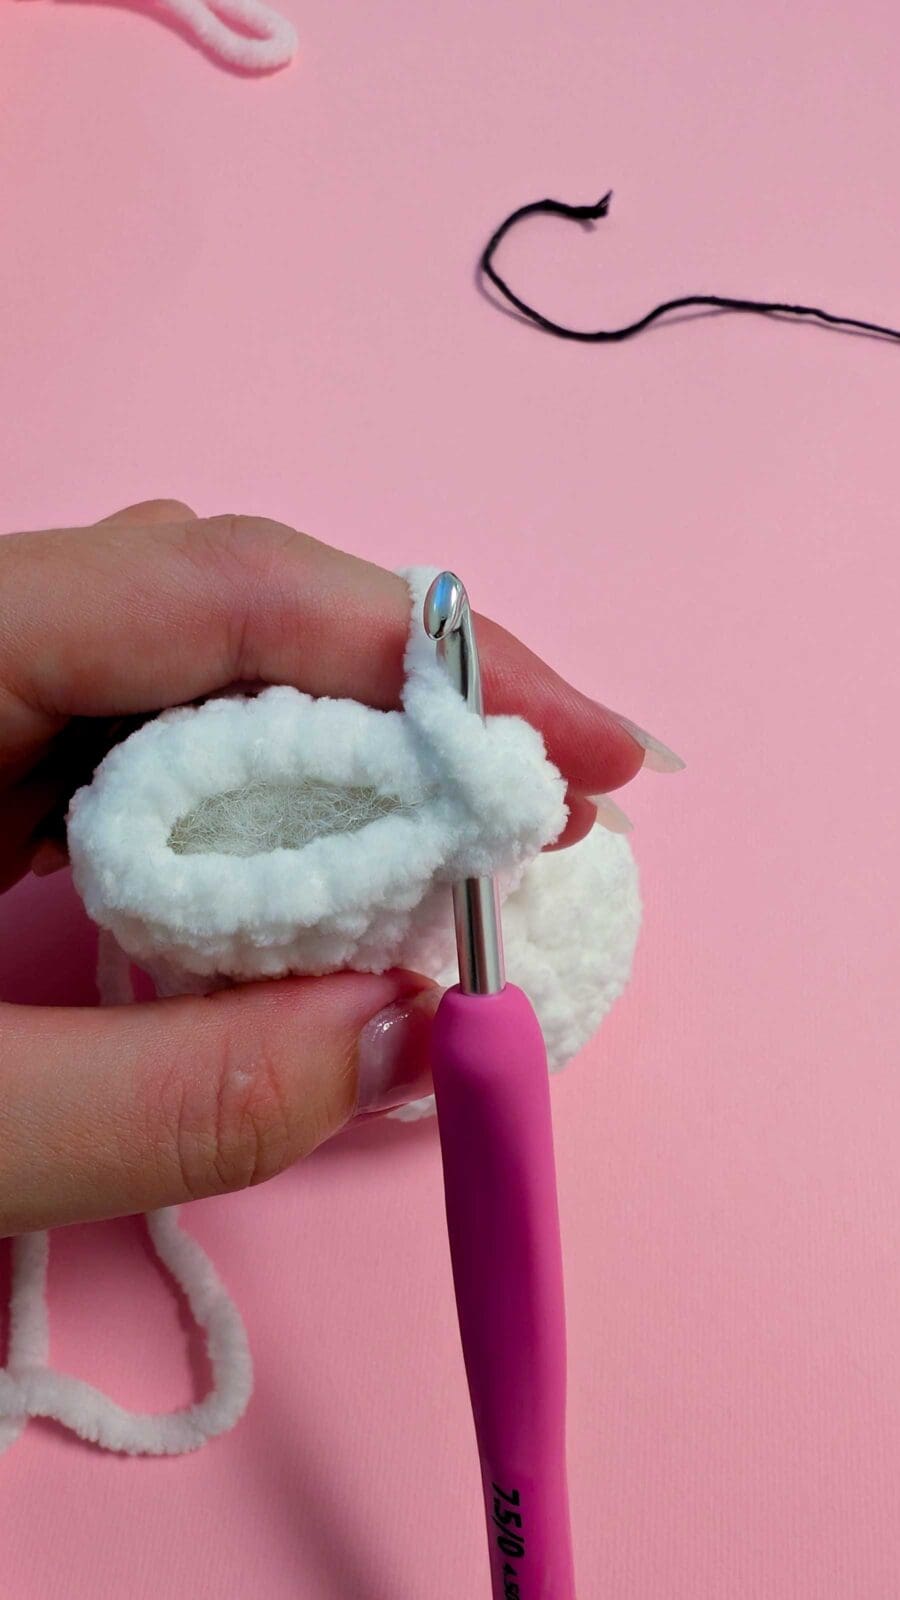
Embroidering spots
If you prefer you can simply free hand your snow leopard spots. If you want to be more precise about placement and size, I suggest using needles to mark your spots.
Using two strands of chenille yarn in black:
continue like this, making spots of different size all over the leopard.
Start a few stitches away from where you are placing your first spot
go out where the orange needle is
go down where the black needle is and out at the blue needle is
Go down where the black needle is again and out through the pink needle.
go down where the blue needle is and out at the place where you want to start your next spot.
Paws
Using a single strand of pink chenille yarn:
Fasten your yarn and secure your ends
Start at the back of the foot.
sew a few times over the first two rounds
Mark your toes
sew 3 or 4 times around each of the marked stitches
Eyes and ears
If adding eyelashes Using a single strand of black cotton yarn:
Choose placement for your ears and sew them in place.
Follow the pictures below
Muzzle and faceshaping
Using a single strand of white chenille yarn:
Take a piece of black cotton yarn, starting in the same hole as the blue needle, come out right under the nose, go through and over a few times pulling to get the shape of the muzzle. Create a black V around the nose before going back down to your starting point. Tie the ends at the bottom and hide the ends inside the head.
sew your muzzle in place, if needed add some stuffing before sewing the last bit closed. Fasten of and secure your ends.
Now using white chenille yarn, start at the blue needle, up and out through the right side yellow needle, down at the pink needle and out at the bottom right black needle. Pull carefully!
In at the left side black needle and repeat the same steps as for the right side but come out in the same place as you started (the blue needle) Fasten your yarn and secure your ends.